The best 3D printers, even inexpensive models like the Creality Ender 3 Pro, are able to make highly detailed models, but most can only output in one color at a time. In this guide, we’re going to explore a few different ways you can print parts in multiple colors using an FDM 3D printer that only has a single nozzle. The three techniques we’ll explore are the ‘Pause and Swap’ method of swapping filament spools, printing objects in multiple pieces, and using rainbow filament to create parts with a satisfying color transition. You can also paint your model after printing, but that will be a whole other article.
If you’ve never prepared a model for 3D printing before, you can read about the process and get comfortable with customizing slicer settings. If you’re already comfortable with changing slicer settings like infill, print speed, and others, read on to learn how to create multicolor prints with a single-extruder FDM 3D printer.
What You’ll Need
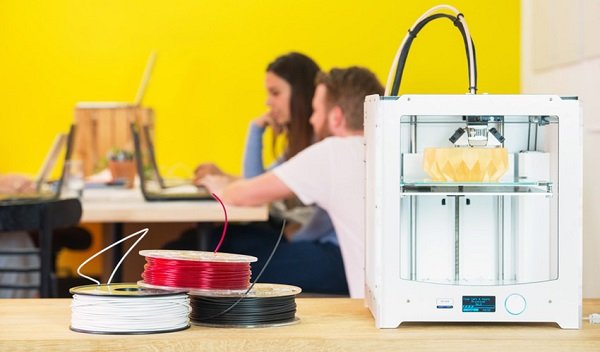
- 3D Printer: In this article, we’ll be using the Creality Ender 3 Pro FDM 3D printer,but just about any FDM 3D printer will do (SLA (aka resin) models are a different story).
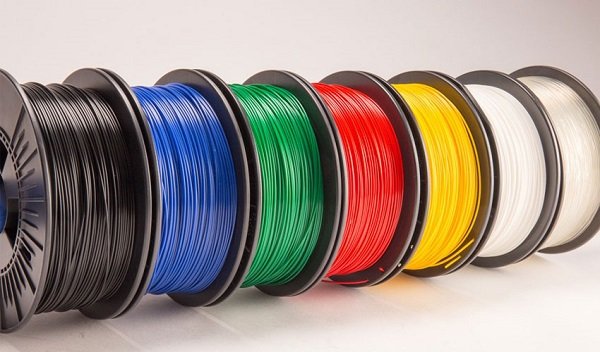
- Filament: PLA is an easy-to-use low cost material, and in this article we’ll be using PLA 3d Printer filament from Begonova, Eryone, and others. To create rainbow parts, we’ll be using the TTYT3D Rainbow PLA.
- Slicer App: We’ll be using Ultimaker Cura to prepare files for the Creality Ender 3 Pro, but other slicer apps like PrusaSlicer and Simplify3D have a similar workflow. The settings should be similar, but they may be in different menus.
Getting the Software for Multicolor 3D Printing
We’ll be using Tinkercad to create a multicolor part, but you can use any design program you already know. Tinkercad is available as a free in-browser program, and you can create an account by visiting their site.
Most slicer apps have the ability to add a ‘Pause’ command at a specified point in a print, but you may need to reference the documentation to find where the command is located. The process for adding a pause in Ultimaker Cura is well documented, and we’ll go over the basics in this article to help guide you through if you’re not not familiar with this feature.

1. Create a Tinkercad account on the Tinkercad site. If you’re interested in creating 3D models and programming pauses into your prints, Tinkercad is a great place to get started because you can define the height of a model and design with multicolor printing in mind.
2. Download the slicer software for your 3D printer. We’ll be using Ultimaker Cura, a free app, with the Creality Ender 3 Pro but other slicer apps for FDM 3D printers such as PrusaSlicer, Simplify3D, FlashPrint and others will have similar workflows.
Method 1: Pausing and Swapping Filament
One of the fastest ways to create a multicolor 3D print from a single extruder machine is to use the “Pause and Swap” method. This process involves pausing the printer in the middle of a print, switching the filament spool to one with a different color, and resuming the print. This is an easy way to get a two-color part, and the easiest way to do it is just pausing the printer when it hits the right layer. If you want more control over the process, you can also program a pause at a certain layer or height.
In this section, we’ll cover the process of creating a model that’s designed for multicolor printing and the process of programming a pause using Ultimaker Cura for the Creality Ender 3 Pro, one of the best 3D printers for beginners. This process can be used on many different slicer apps (including PrusaSlicer, Simplify3D, etc.) so the principles are similar regardless of which app you’re using.
1. Open Tinkercad and import the Twitter logo SVG. Tinkercad will automatically convert the SVG vector graphic to a solid model, which we’ll use as the starting point for our model.
2. Use the ruler tool to scale the model to a printable size. We’re going to be printing this part of the model in a different color, so we’re going to scale this model to 2mm thick.
3. Use the Text tool to add text to your model and set the thickness to 2mm. By keeping this thickness as 2mm, we know that it will print at a consistent height on top of the base of the model.
4. Create a base for your model and set the thickness to 5mm. Once the base has been created, use the Move tool to bring your text up 5mm so it can be placed directly on top of the base of the model.
5. Align your models by using the Align tool so that the models are centered on the X and Y axes and make sure the top of the model is offset from the platform by 5mm. This will create a model that will easily accommodate changing filament colors.
6. Export the .stl from Tinkercad and import it into Cura to prepare the model for the slicing process. Cura has the ability to pause the printer at a set layer, which will give us the ability to swap out the filament and change colors.
7. Select ‘Extensions’ – ‘Post Processing’ – ‘Modify Gcode’ and add a ‘Pause at Height’. Because we know the base of this model is 5mm tall (25 layers at .2mm layers) and we want to pause and change colors before starting the next layer, we’ll use layer 26 as our target.
8. Slice the model using your default settings and export the 3D printable .gcode. You can go through the model at this point and confirm that the raised text will change color by multiplying the layer height (.2mm) by the number of layers before the change (25) which gives us 5mm.
9. Load the first color in your 3D printer and start the print. Since we want this part to have a white base with blue text, we’ll start the print with white ABS filament loaded.
10. Remove the first color of filament and load the second when the print pauses. Some printers will retract the material automatically when paused, and others will require the filament to be pulled out and replaced manually. Once the second color of filament is loaded, resume the print.
11. Remove your model and check the layer swap. The model should have swapped colors at the correct layer, and you should have a two color print that came from a single extruder 3D printer. You can also make a model like this by pausing and swapping the filament manually, but the downside is you need to be near the printer to pause it when it reaches the proper layer.
Method 2: Using Multiple Parts for Multicolor 3D Prints
Printing models that are composed of multiple parts is a simple and fun way to create colorful parts that couldn’t be printed in a single pass. To highlight this method of printing we’ll be using the Screwless Cube Gear, designed by buraq studios and hosted on Thingiverse. This model is designed to be printed as three separate trays and is ideal for making a colorful, functional, and engaging 3d printer filament.
1. Choose the colors you are going to use and split the full model into different trays. Each tray will print with a different color, so select colors that you think would have good contrast. We’re going to print the center block and pins of the rotating gear in blue, then print out two sets of gears; one in white, and one in black.
2. Print each tray, using a different color each time. After printing the cube center and pins, we swapped the filament from blue to white before printing out the gears.
3. Assemble the model by using the pins to snap each corner of the cube gear into the center block. PLA plastic tends to be stiff, so you may need to squeeze the edges of the pins to loosen them before inserting them into the corners.
4. Rotate the cube and admire the finished product. The gears of the cube should rotate freely around the center block; if they are stiff you can add a small amount of silicone lubricant to reduce friction.
Method 3: Using Rainbow Filament for Multicolor 3D Prints
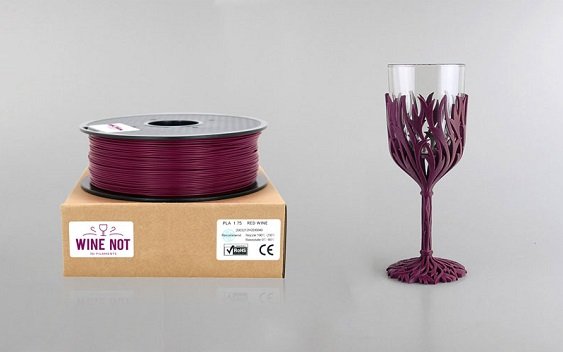
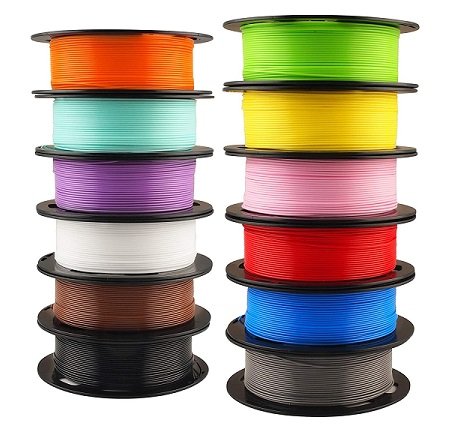
Printing with rainbow (or any other multicolored material) is the easiest way to create a multicolored part, but the colors that print out will vary depending on what type of material you’re using. If you’re interested in making colorful and fun prints, rainbow PLA is a great choice of material to use.
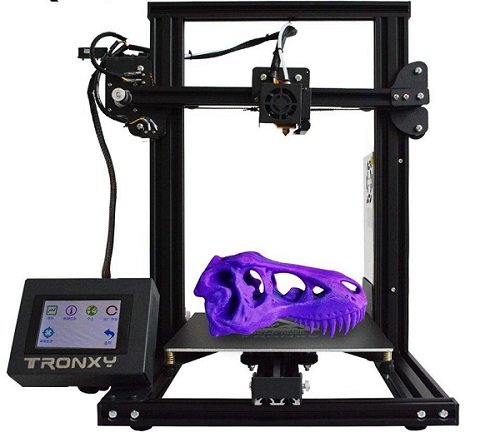
1. Prepare a model for 3D printing in your slicer program. You’ll get the most dramatic color transitions by making large, dense models because the spool transitions through colors as it prints. For this section, we’ll be printing the Plunderbuss Pete model with a high infill amount to use more material and create faster transitions throughout the model. Export the sliced file, save to an SD card, and insert the card into your resin 3d printing (or use Wi-Fi if your printer supports that).
2. Load the rainbow PLA material into the printer.
3. Start the print and watch the colors change as the print progresses.
4. Remove your model from the bed once the print has been completed. Since the model is printed using only a single spool of material, there’s no need to pause the print, change filament, or do any post-processing.